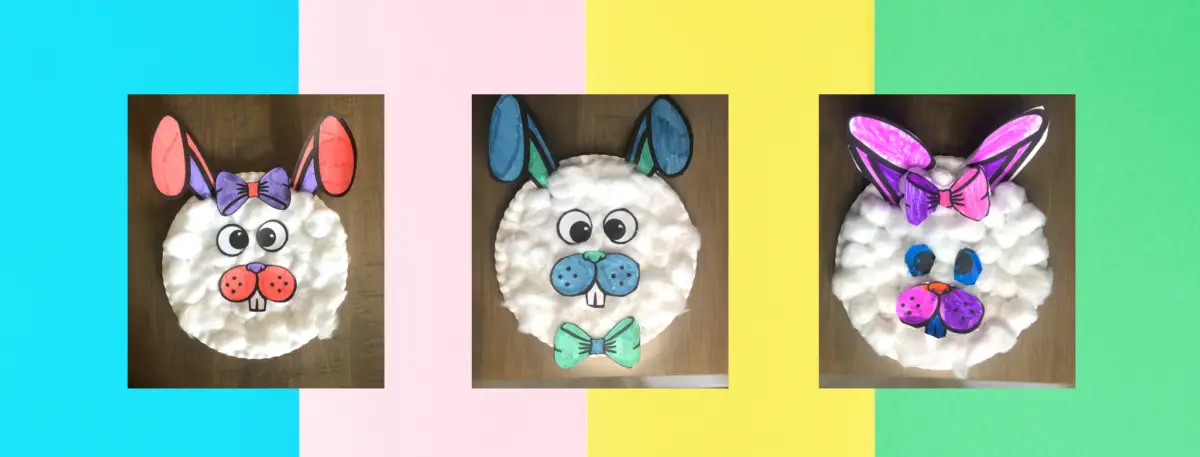
This paper plate bunny craft for kids is so easy and fun to make! Using the free, printable template and a paper plate, kids make an adorable bunny to decorate for Easter or spring!
Disclaimer: The information published in this blog is for information and entertainment purposes only. I am not an expert and you should look elsewhere for advice. I am not liable for any damages resulting from using the information on this blog. All activities for children require adult supervision. For further information, see the Disclaimer page.
Affiliate info: I sometimes publish endorsements and advertisements, which means that if you purchase something through one of the links here, I might receive a percentage of the sale, with no added cost to you.As an Amazon Associate, I earn from qualifying purchases. For further information, see the Affiliation Information Page.
How to Make the Paper Plate Bunny Craft
My kids couldn’t wait to make this paper plate bunny craft, and we loved how they turned out! It is an easy craft, and my five year olds caught on quickly and could complete the project themselves. Here are the easy to follow steps:
1. Gather Supplies
To make the paper plate bunny craft, you’ll need:
- Free printable Paper Plate Bunny Craft Template. Instant download link is below.
- Paper plate (affiliate link)
- Cotton balls (affiliate link)
- Coloring supplies. We used these markers (affiliate link).
- Child safe scissors
- Glue
2. Color and cut out the bunny ears, nose, eyes, and bow.
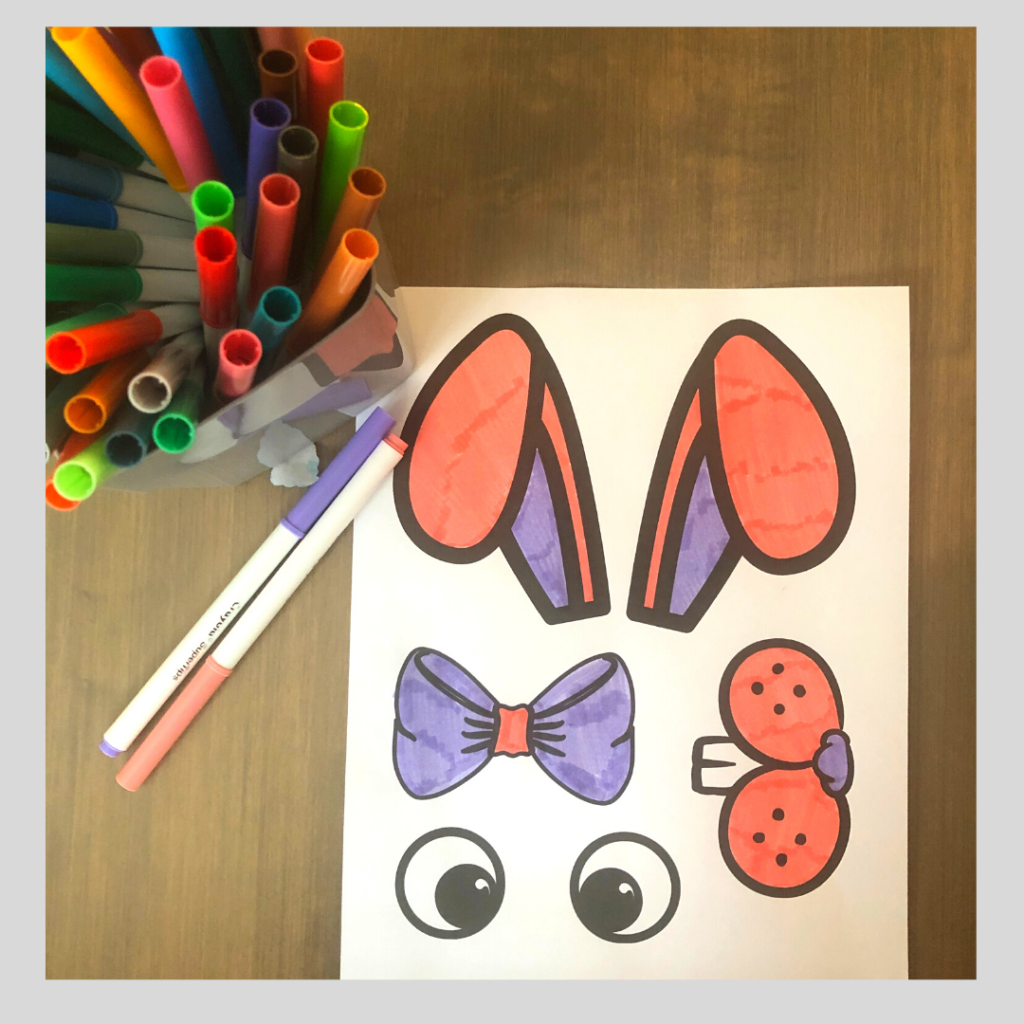
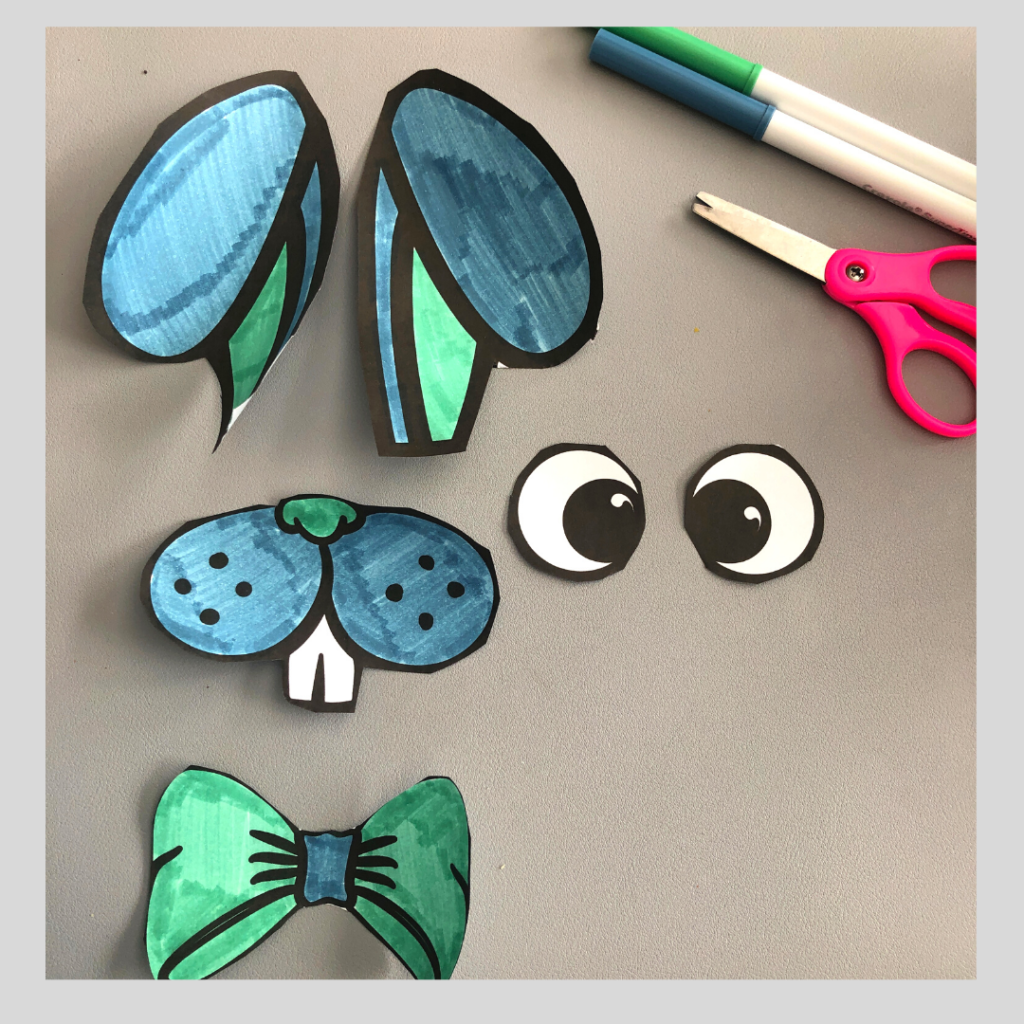
My kids had so much fun choosing the colors for their bunnies. There are so many possibilities, and having the option to personalize them is fun.
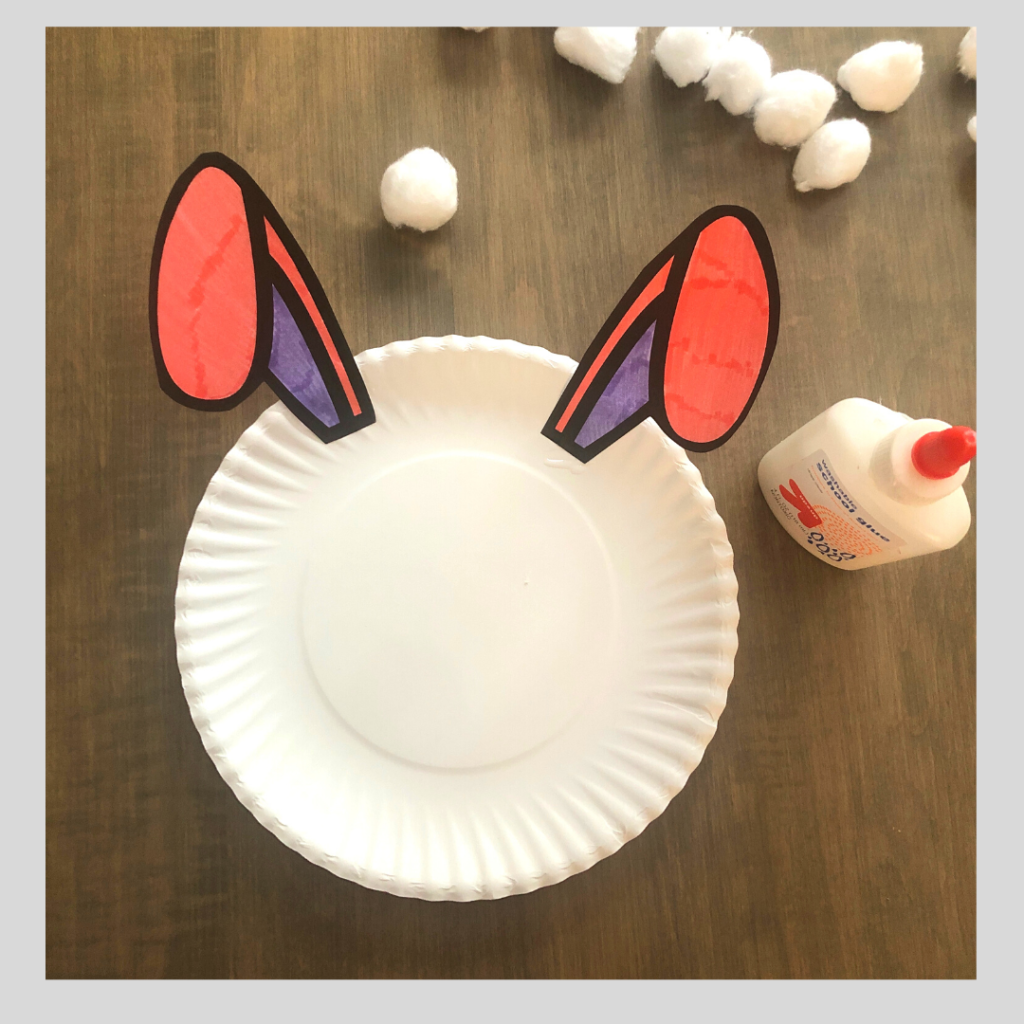
3. Glue the bunny ears to the paper plate.
After the pieces are cut out, glue the bunny ears a few inches apart on the top of the plate.
4. Attach the cotton balls.
Next, glue the cotton balls to cover the plate. The cotton balls can be stretched out or left round. Note that if you leave them round, you will use more cotton balls than if you stretch them.
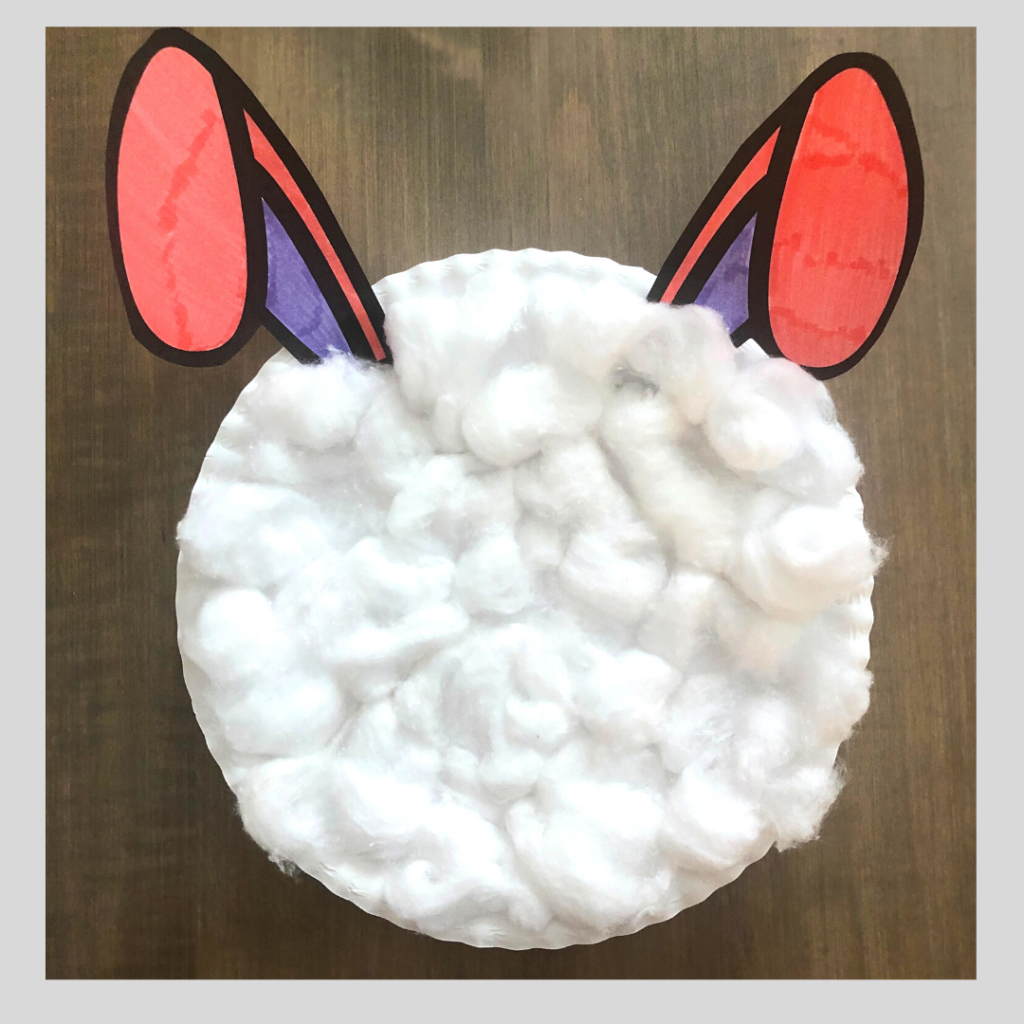
5. Glue the rest of the cut outs. Enjoy!
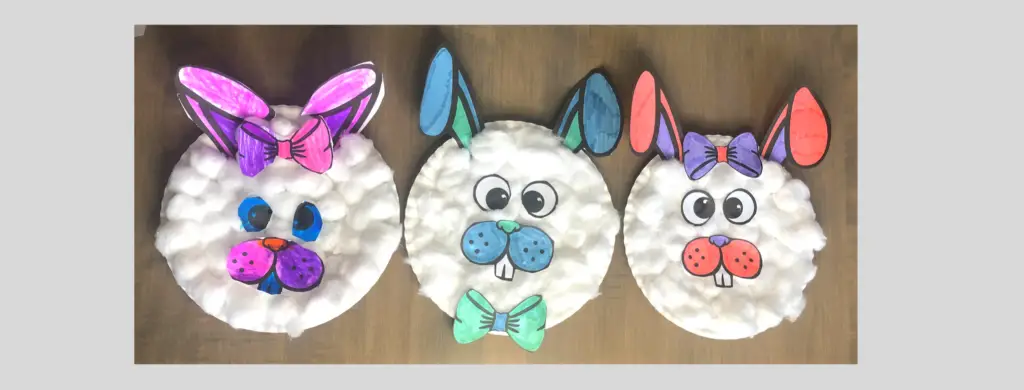
After you’ve glued the cotton balls, it’s time to add the rest of the cut out bunny pieces. Glue the nose near the center of the plate. Then, place the eyes above the nose.
The bow is an optional addition to the bunny. If you wish, you can attach it in between the ears or at the neck like a bow tie.
Get the Paper Plate Bunny Craft Template PDF
Terms and conditions:
By downloading the Paper Plate Bunny Craft Template, you accept these terms and conditions.
- This template was created by Hey Kelly Marie to be used for personal and personal classroom use.
- The template is copyright protected. © 2021 Hey Kelly Marie and all rights reserved.
- This template may also not be sold, hosted, stored, or reproduced on any other site or blog.
- Adult supervision is required for children’s activities. It is up to the child’s caretakers to determine what is developmentally appropriate and safe for their child. Caretakers have full responsibility for child safety and development.
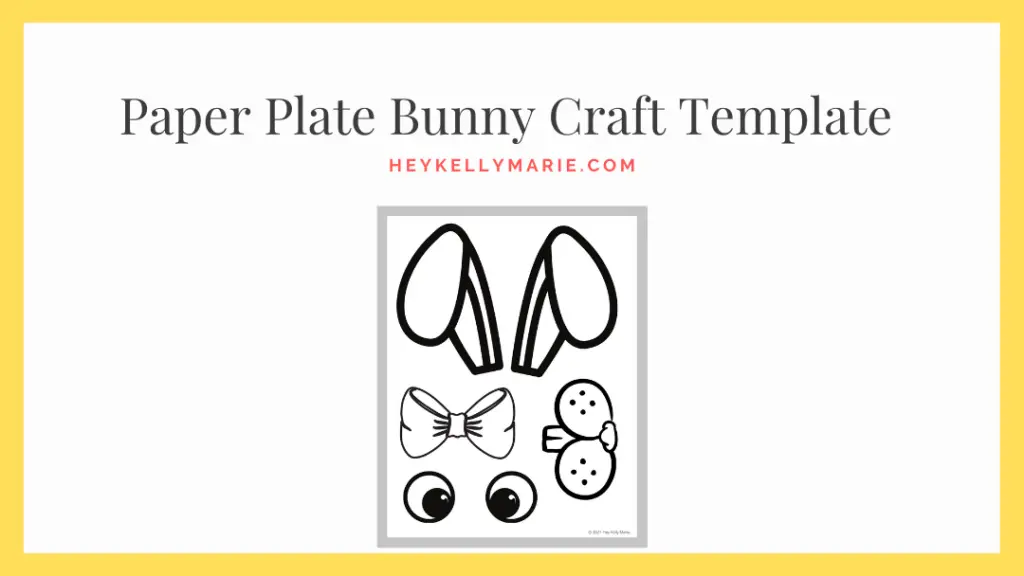
CLICK HERE TO DOWNLOAD THE PAPER PLATE BUNNY CRAFT TEMPLATE
Free, Printable Easter Coloring Pages for Kids
If you love this post, you should also check out these five instant download Easter Coloring Pages for Kids.
What do you think?
I’d love to hear what you think of this paper plate bunny craft. Did your kids enjoy it? Please leave a comment below.
Pin this post!
Share this post on Pinterest. It will save the craft idea for you, and also help other people find it. Additionally, sharing this post helps support me and my work here!

